Open the Products tab
In WordPress, open the seeonwall.com entry in the WooCommerce menu, then the Products tab. Find a product whose image is a mockup and click its thumbnail or its poster image.
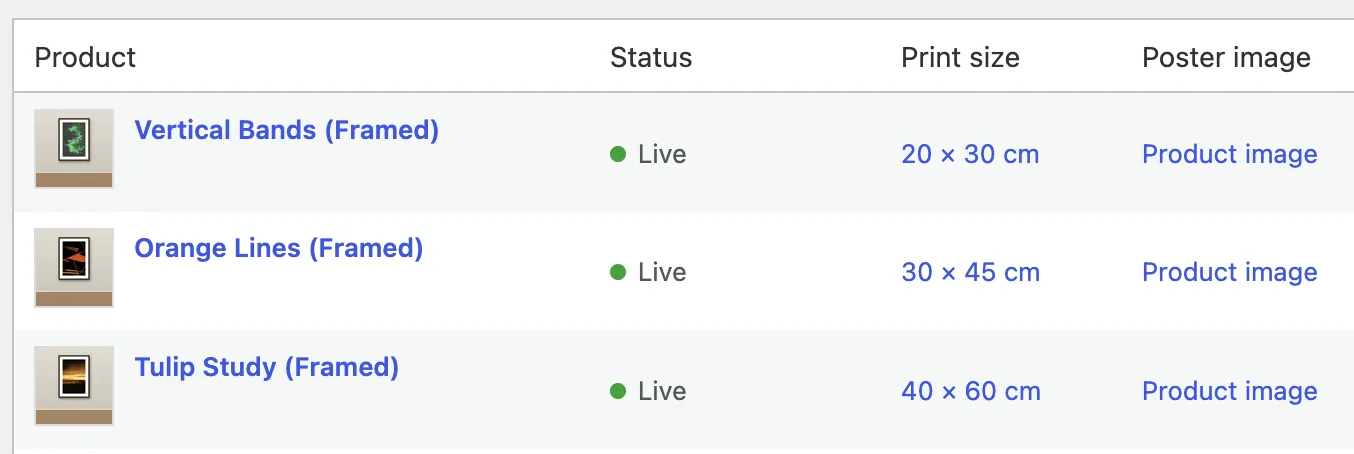
The Products tab. These three products use the same mockup. Pin the product image
An artwork area is measured on one exact image. Click Pin the product image, so the preview keeps this image and you can mark the print in it. You can also choose a different image from the media library.
The artwork area cannot be marked on an image that is not pinned or chosen, because the product image can change with your theme.
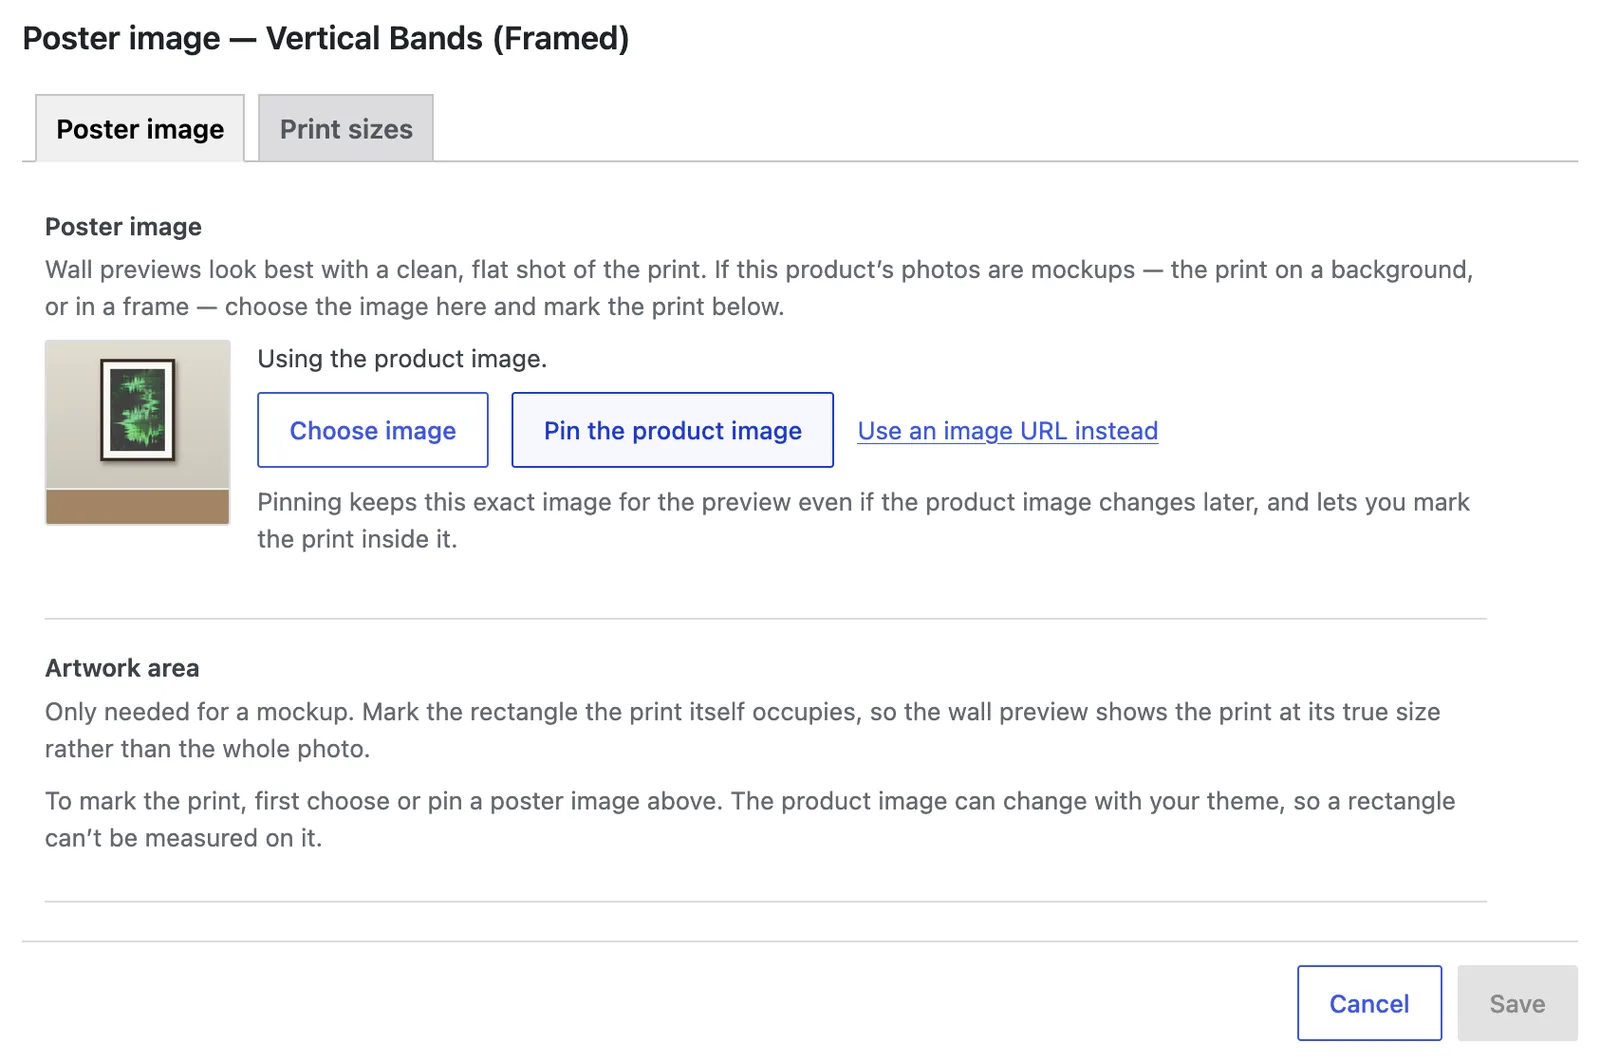
The poster image window before the image is pinned. Click Mark the artwork
The pinned image now shows under Poster image. Under Artwork area, click Mark the artwork to open the editor.
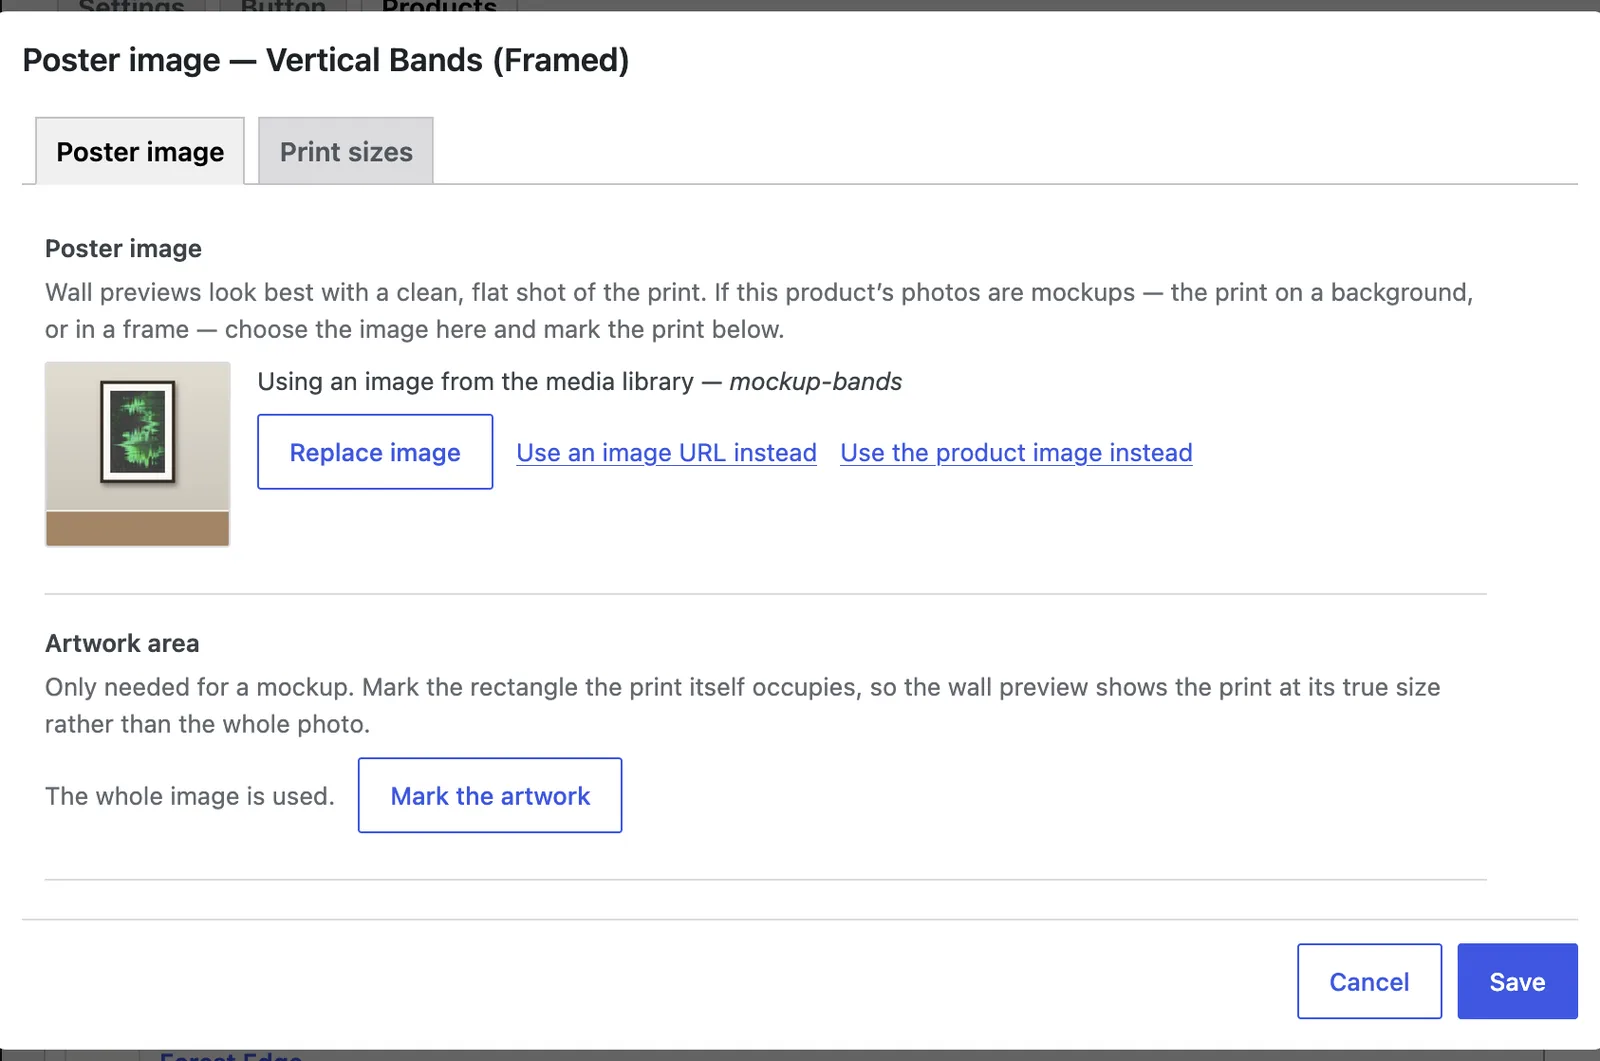
The image is pinned. Until you mark the artwork, the whole image is used. Drag the box around the print
Drag the corners and the edges of the box until it covers only the print: not the frame, the mat or the wall. The line under the image gives the area in percent. Then save.
The editor finds the print by trimming a plain background. A room scene has no plain background, so the box starts from the whole image and you place it by hand.
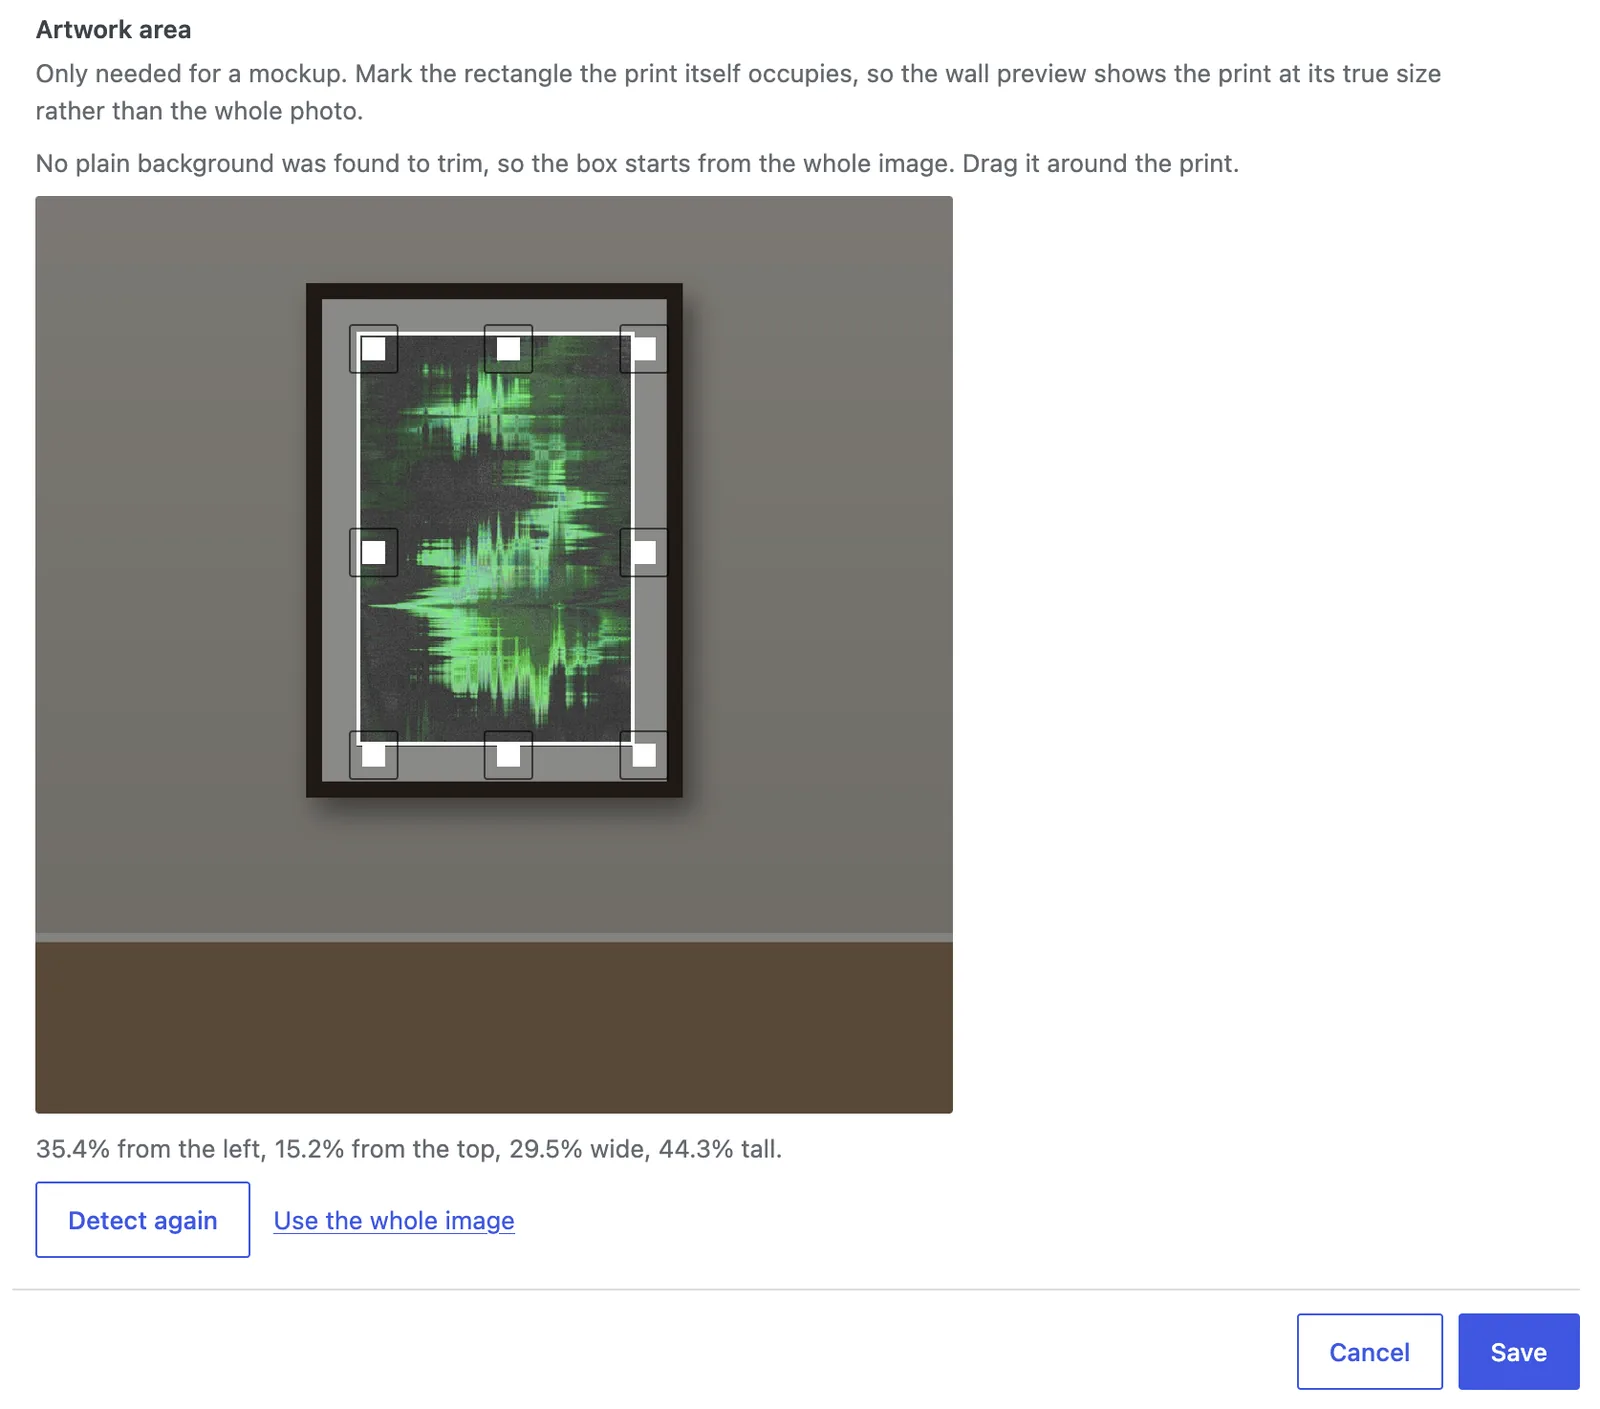
The box covers only the print. Saving stores the artwork area. Click Apply artwork area to the same mockup
Back on the Products tab, move the pointer over the product. Its row now has the action Apply artwork area to the same mockup. Click it.
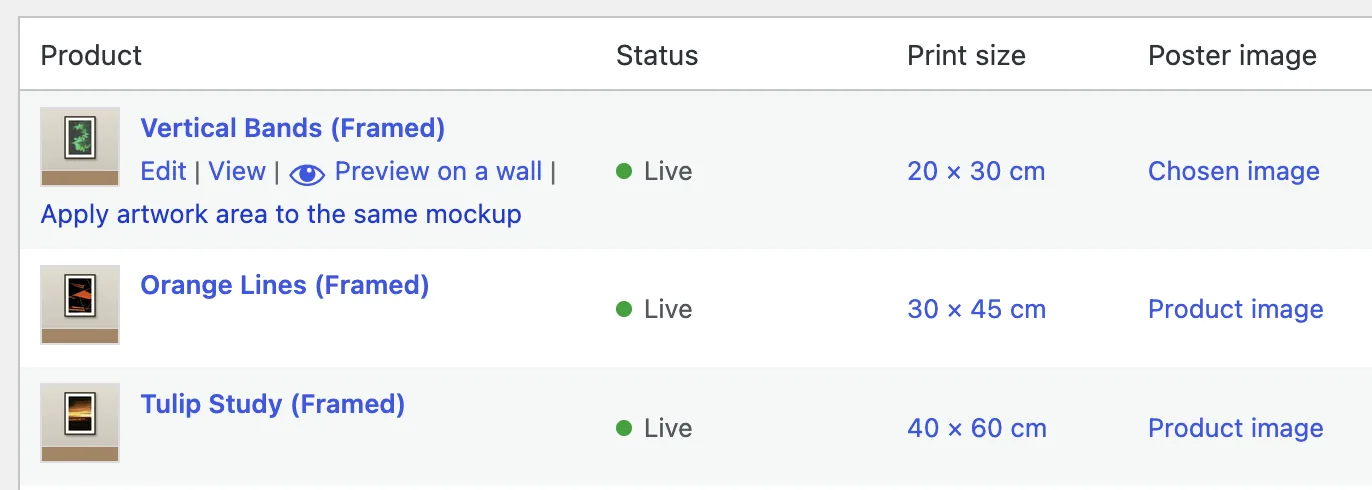
The action shows only on a product that has an artwork area. Check the products that were found
The plugin compares the image of every product with this one. It compares everything around the artwork area, such as the wall, the frame and the shadow, and ignores the print. Clear the box of a product that you do not want to change, then click Apply to selected.
A product that already has its own artwork area is listed but not selected. An image on another website can only be read when that website allows it (CORS). Such an image is counted, not matched.
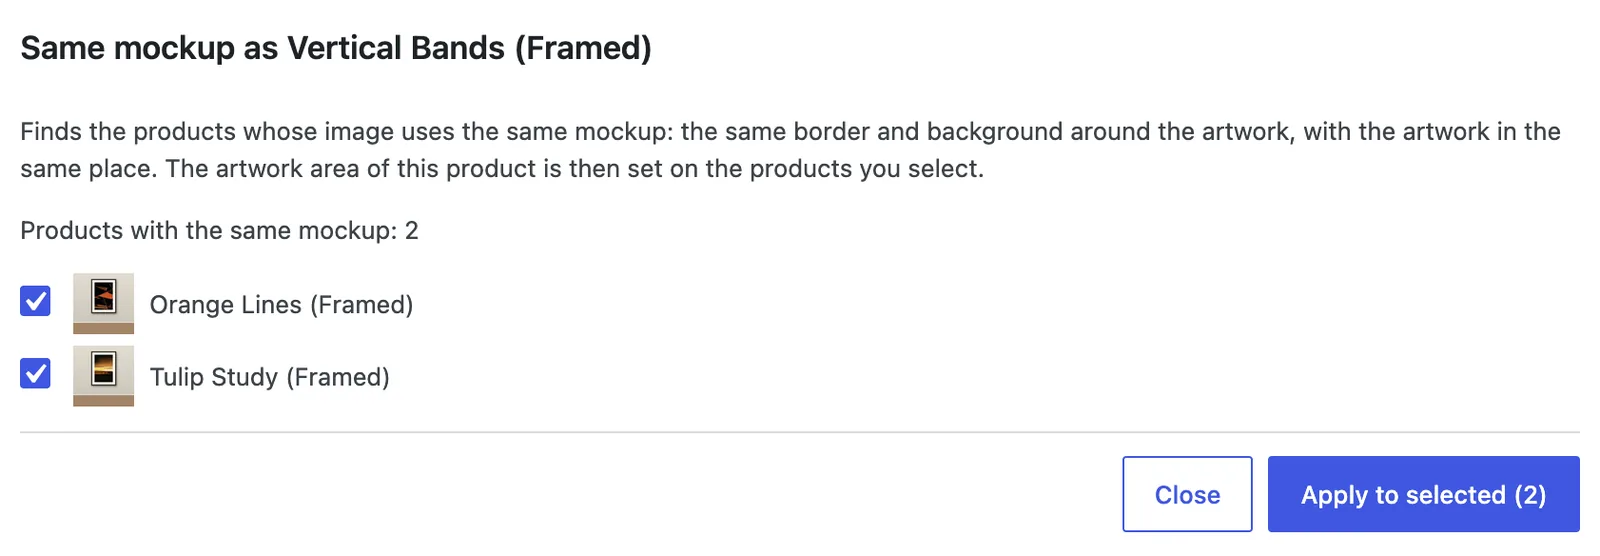
Two products use the same mockup as Vertical Bands. Check the result
The window shows how many products were updated. Each one now has its product image pinned, with the same artwork area. If the print sizes of a product do not fit the shape of the area, the Products tab shows a warning on its row.
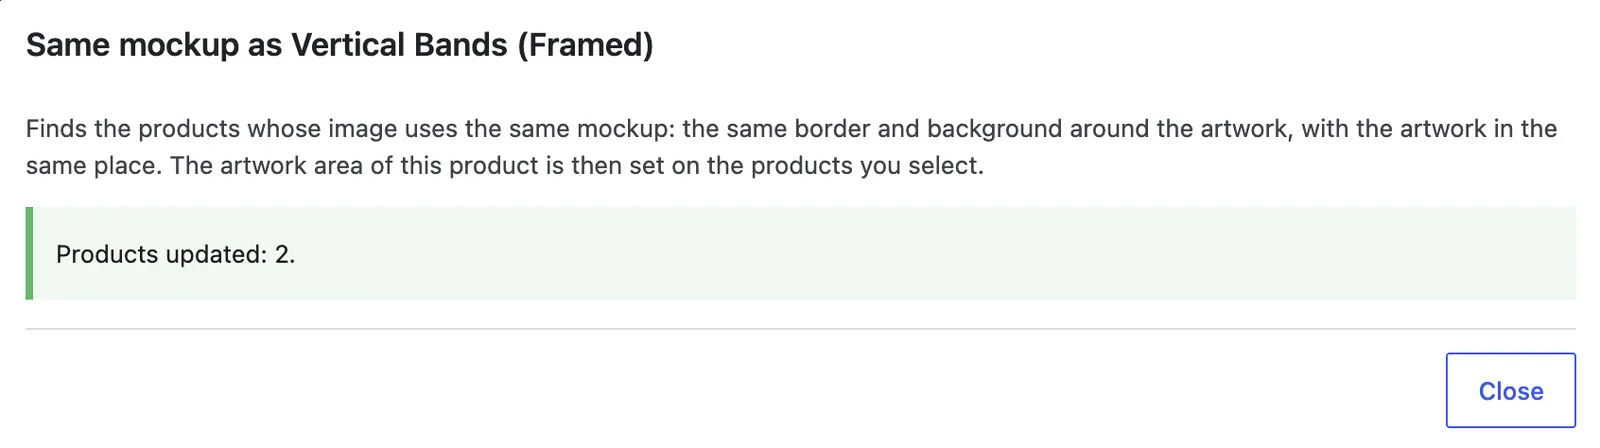
Both products now have the artwork area.
A product was not found?
Send us the product and its image at support@seeonwall.com.