Before you start
The Squarespace setup reads everything from your product pages, so it has limits that the Shopify app and the WordPress plugin do not have. Check these first.
- A plan with Code Injection. Code Injection is on the Core, Plus and Advanced plans, and on the older Business and Commerce plans. It is not on Basic or Personal.
- Sizes as a variant option. Each print needs its sizes in a variant option, such as Size with 8x10" or A3. A size that is only in the description is not read, and that product gets no button.
- One image with the artwork alone. At least one product image must show only the artwork, edge to edge: no frame, no room, no mockup. The preview puts that image on the wall at the size of the print. Plain bars around the photo are fine, because the button can remove them.
- The artwork at the same position on every product. If the artwork is not the first image, it must be at the same position on all products, for example always the second or always the last image. Product image to show is one setting for the whole store.
- No fast wall preview. The button shows only on product pages. Product listings and category grids do not get the fast wall preview.
- Gallery walls only from history and bookmarks. With gallery walls on, shoppers can add to the wall only the artworks that they viewed before or bookmarked. They cannot browse your other artworks in the preview.
- No Add to cart in the preview. The preview offers View product, which opens the product page. The shopper adds the print to the cart there.
Choose Squarespace
Log in to the seeonwall.com dashboard, or create a free account, and open Integration. Under Step 1 — Choose your platform, select Squarespace.
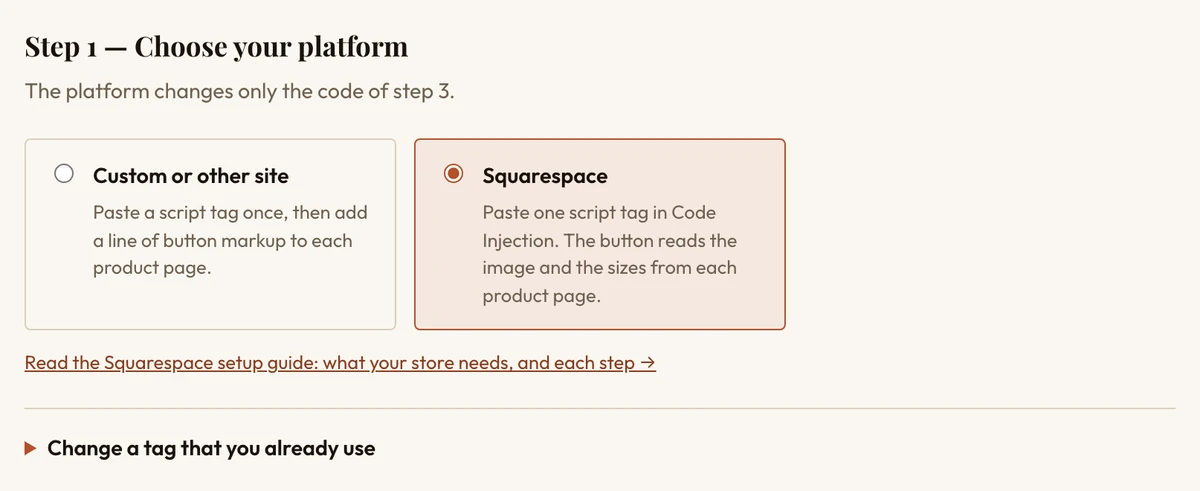
Step 1 with Squarespace selected. Design the button
Under Step 2 — Design the button, set the look of the button and the settings of the preview. The live preview shows each change. All of it goes into the tag of step 3, so there is nothing to change in your Squarespace design.
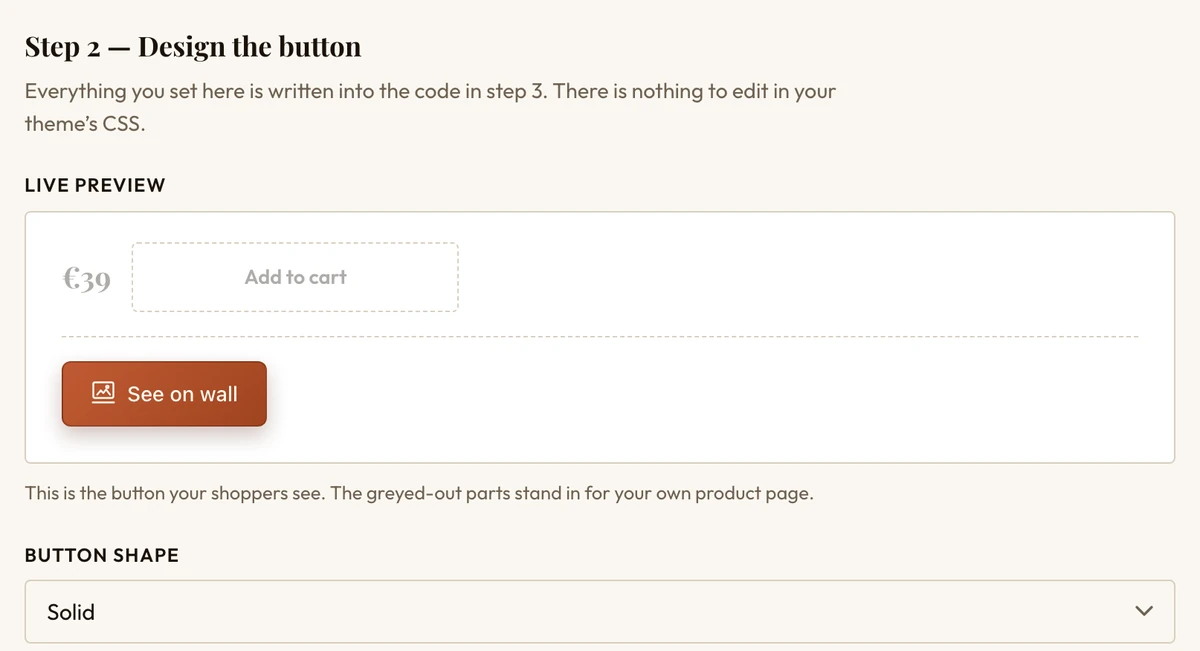
The live preview shows the button as shoppers see it. Set the options of your store
Under Step 3 — Copy the code, open Options for your store. In Product image to show, enter last or the position of the artwork, for example 2, when the first image of your products is a mockup. In Only products with this tag, enter a tag as the Squarespace editor shows it, when your store also sells products with size options that are not prints, such as originals. In Put the button after, enter a CSS selector, such as .product-price, to put the button at a different place.
Tick My product images have bars around the photo when your product images show the photo on a square or padded canvas. Without it, the bars show on the wall. With it, the button shows up to 1.5 seconds later on each product page.
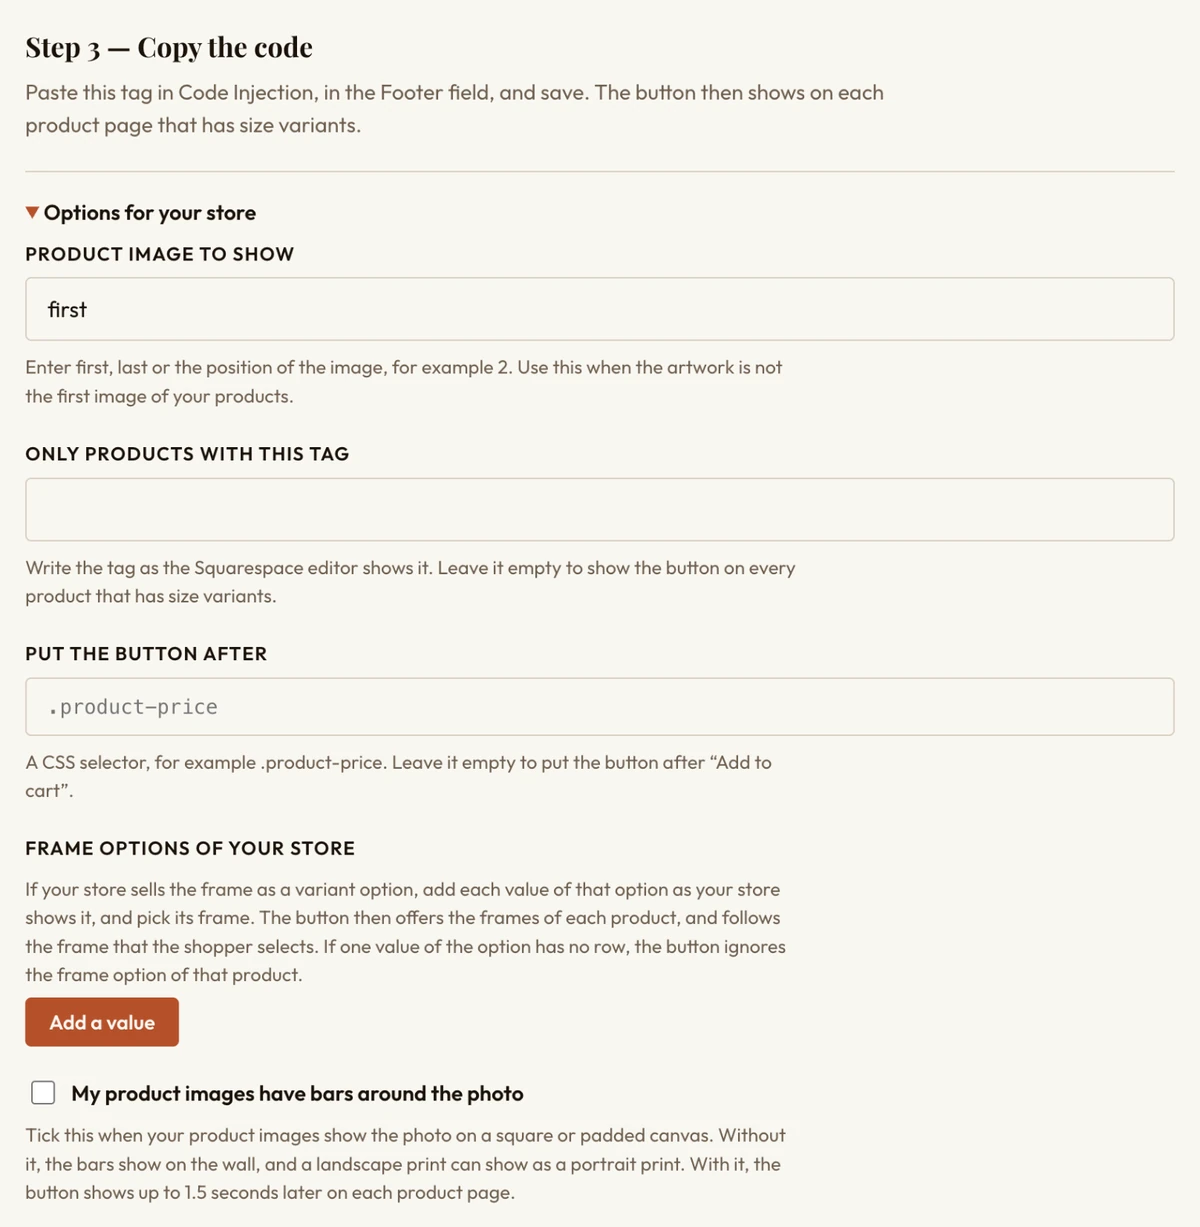
Options for your store, open. Leave a field empty to keep its default. Connect your frame options
If your store sells the frame as a variant option, add each value of that option under Frame options of your store. Enter the value in Option value on your store exactly as your store shows it, and pick its Frame, or No frame. Click Add a value for the next row.
The frames to pick come from Frames in the dashboard, so add your frames there first. If one value of the option has no row, the button ignores the frame option of that product.
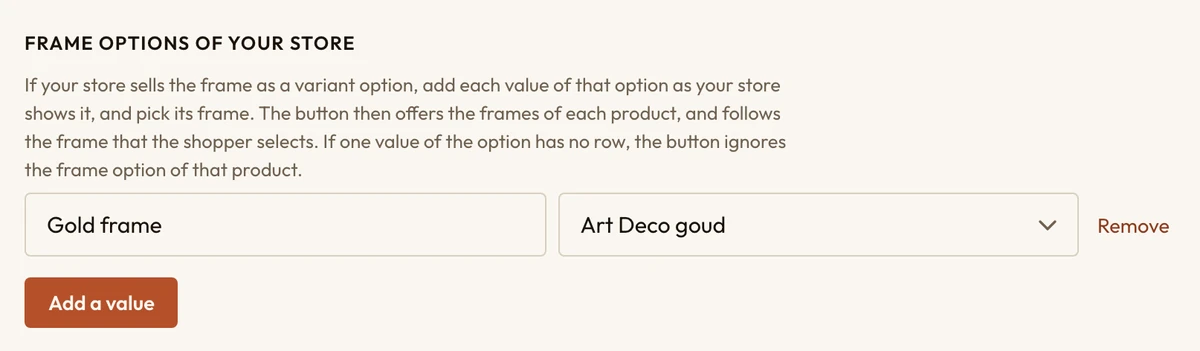
One row: the option value Gold frame shows the frame Art Deco goud. Copy the tag
Click Copy script tag.
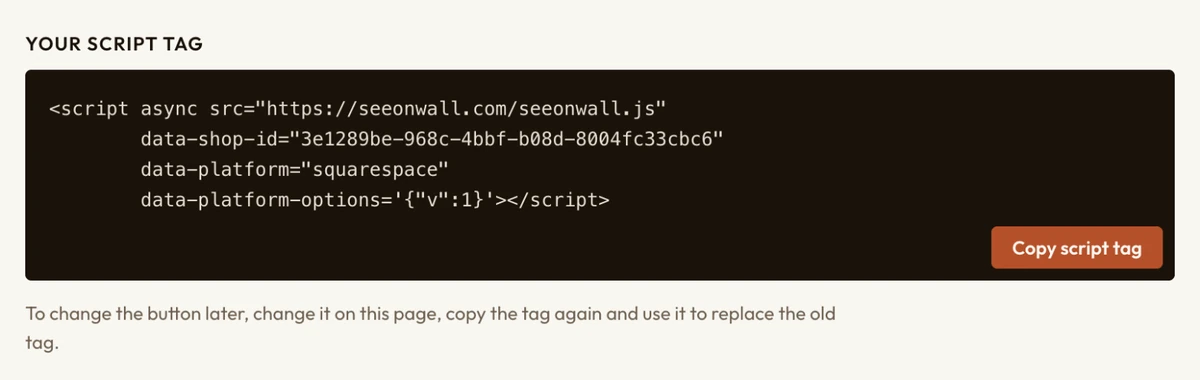
The script tag of your shop, with Copy script tag. Paste the tag in Code Injection
In Squarespace, open Code Injection. On version 7.1, click Custom Code at the bottom of the Pages panel, then Code Injection. On version 7.0, open Website Tools, then Code Injection. Paste the tag in the Footer field and click Save.
Allow the Squarespace image host
If your list of allowed domains is not empty, add your store domain and images.squarespace-cdn.com to it, in Shop Settings, under Allowed domains. Squarespace keeps your product images on that host. With an empty list, there is nothing to do.
Check a product page
Open a product page that has size options. The button shows after Add to cart. Select a size and click the button: the preview opens with that size.
Change the button later
Make the change on the Integration page, click Copy script tag again, and replace the old tag in Code Injection with the new one. If the page does not show your current look, for example in a different browser, open Change a tag that you already use, paste your current tag and click Read the tag.
When the button is not right
- A product has no button.Give the product its sizes as a variant option, such as Size with 8x10" or 30x40 cm. A size that is only in the description is not read. A product whose sizes are all sold out, or that does not have the tag of Only products with this tag, also gets no button.
- The button shows only after you reload the page.Your site is on version 7.0 with Ajax loading. In Site Styles, find Enable Ajax loading and untick it. Some templates, such as the Skye family, cannot turn it off.
- The preview shows a mockup, not the artwork.Set Product image to show to the position of the artwork. The setting is the same for all products, so on a product where the artwork is at a different position, change the order of its images.
- The poster on the wall has bars around it, or a landscape print shows as a portrait print.Tick My product images have bars around the photo, copy the tag again and replace the old one. When a product also sells a square size, the button keeps the whole image.
- The button is in the wrong place.Enter a CSS selector in Put the button after. Or add the line under Button in a Code Block to a Code Block on the product page: the button then shows there.
- The preview opens, but the poster does not show.Add images.squarespace-cdn.com to your allowed domains. →
- None of these.The browser console tells why the button is missing. →
Need help?
Tell us which product and which step, and we will help. Email support@seeonwall.com.